Installation
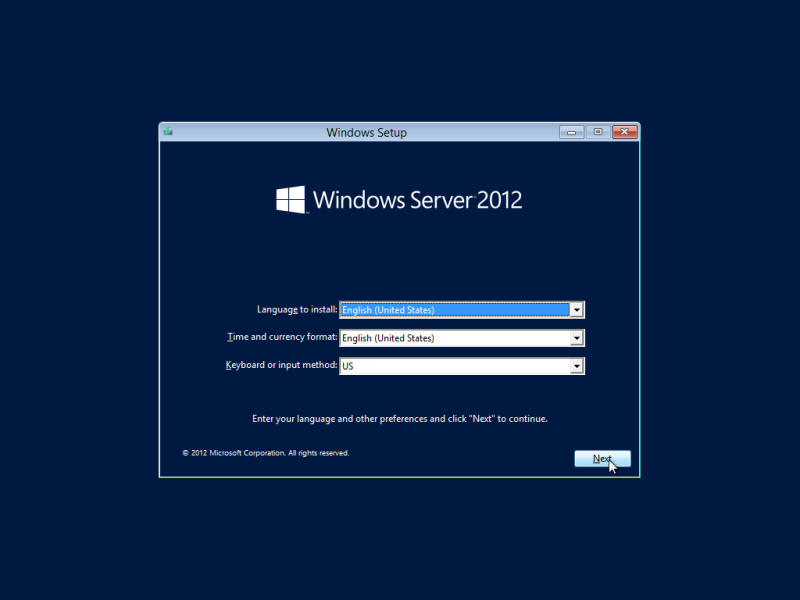
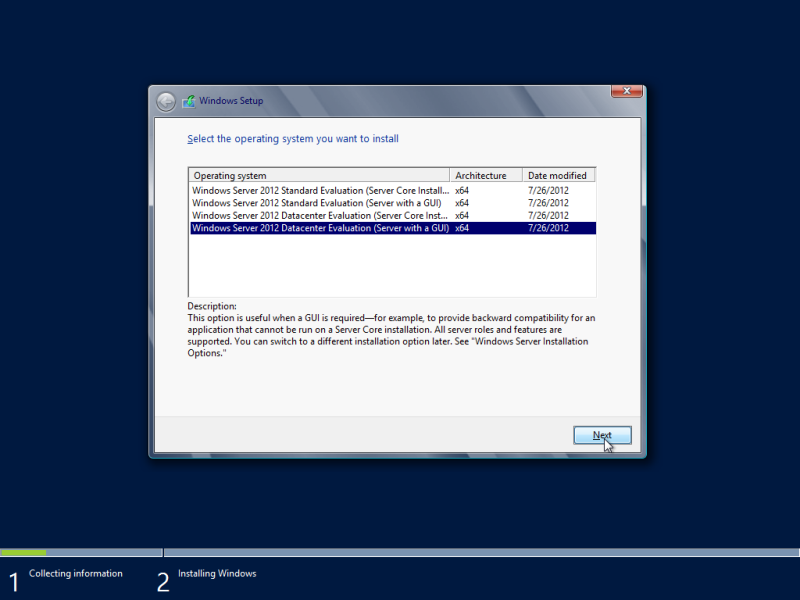
Windows Server 2012 comes into 2 different editions (Datacenter, Standard) on The MSDN/TechNet installation DVD. The evaluation DVD can be downloaded via the TechNet Evaluation Center. You can burn this .iso file using for example ImgBurn. After burning the DVD follow the installation steps below.
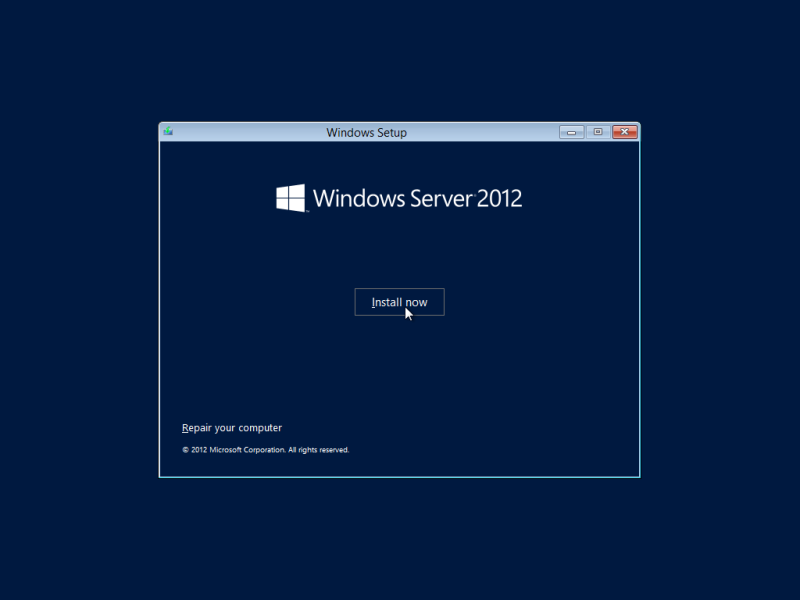
2. At the next screen just click the Install now button.
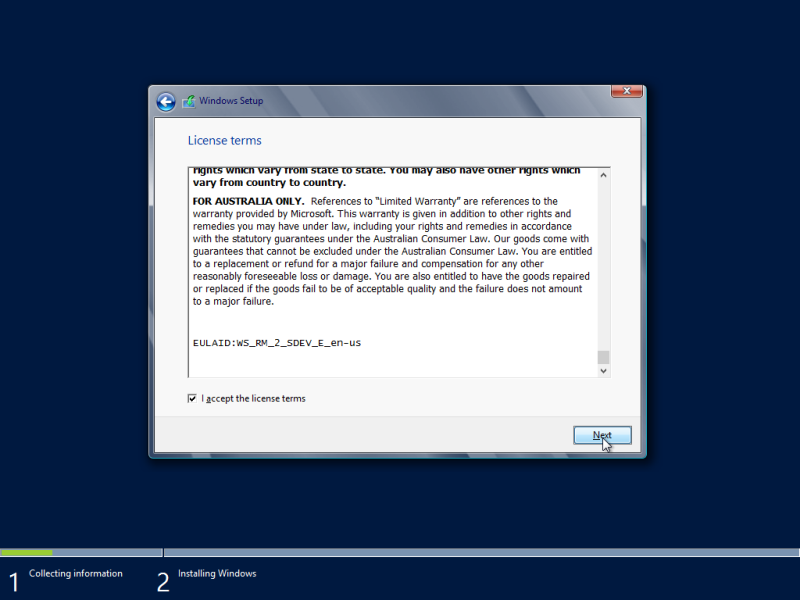
4. If you agree to the license terms, check I accept the license terms and click Next.
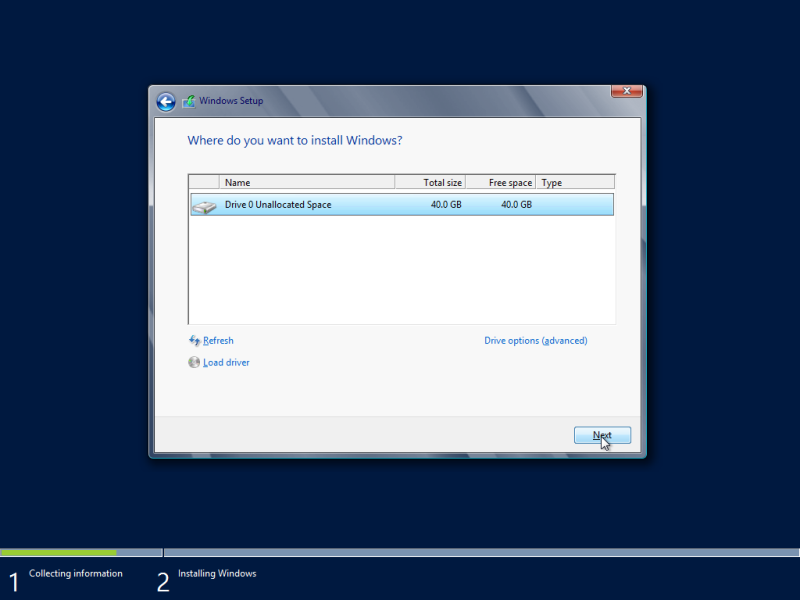
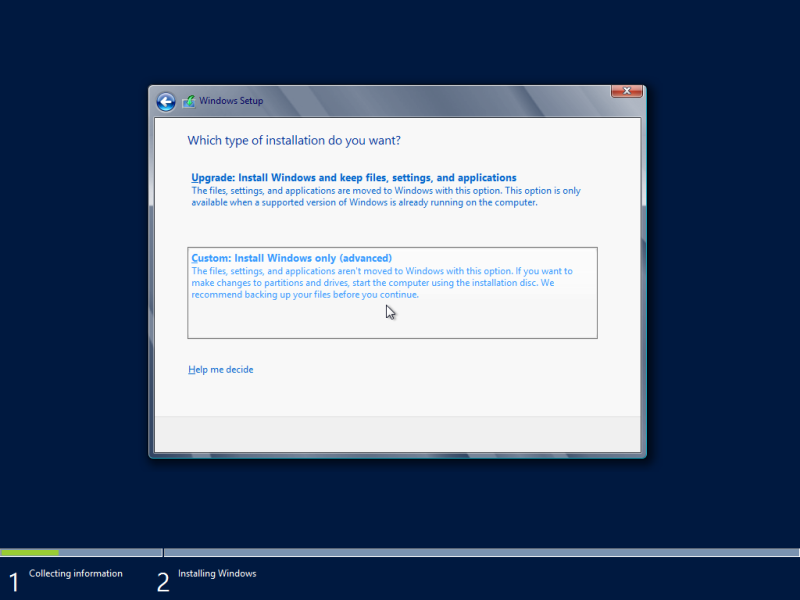
6. Select the harddisk and partition where you want to install Windows Server 2012 and click Next.
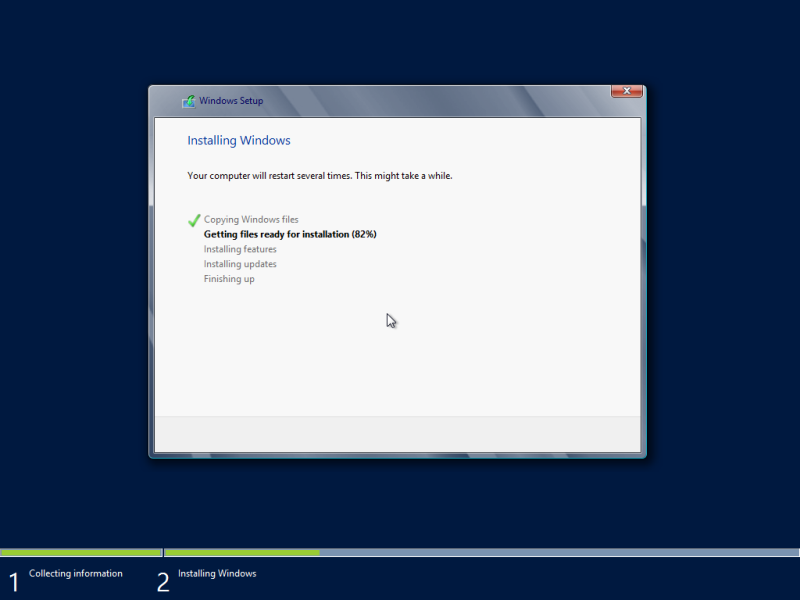
7. Now Windows Server 2012 setup will install the selected version to your harddrive.
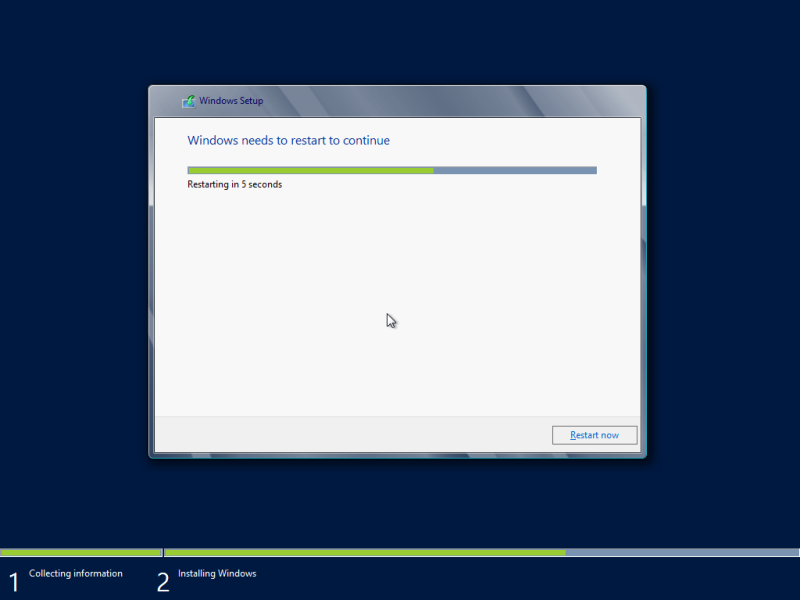
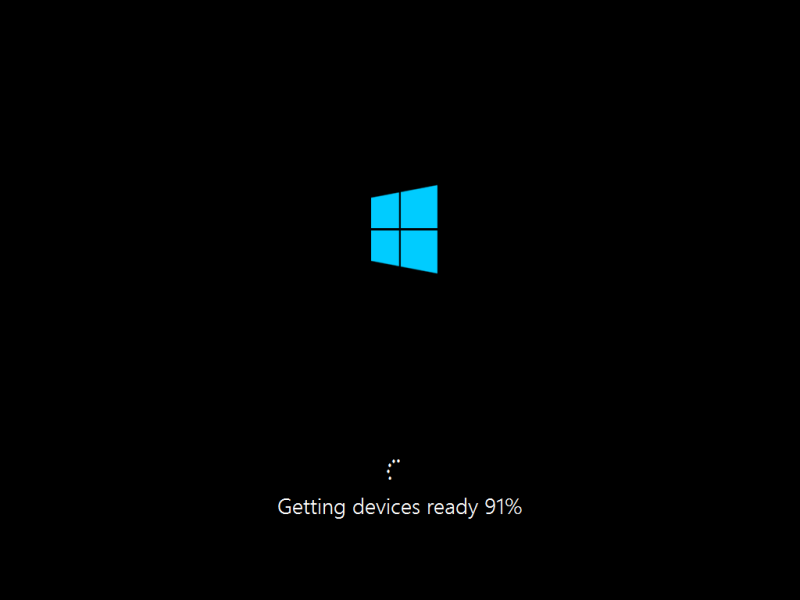
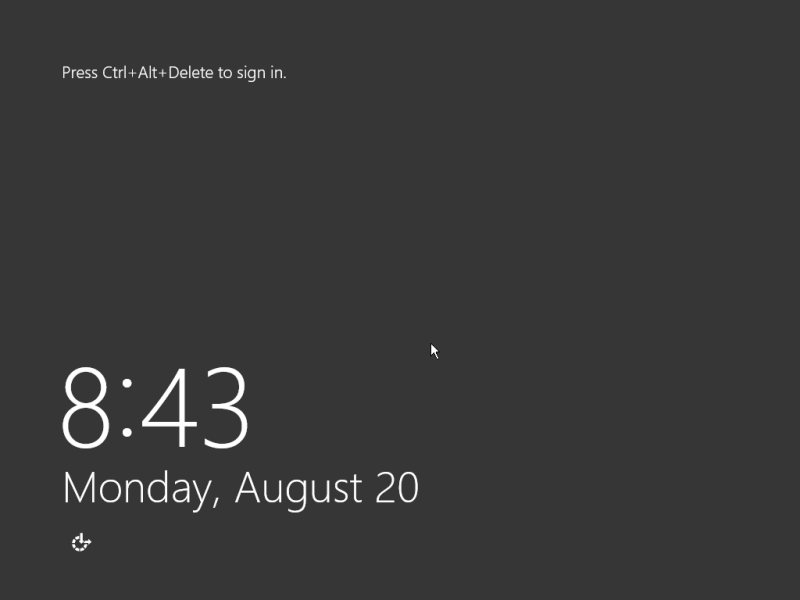
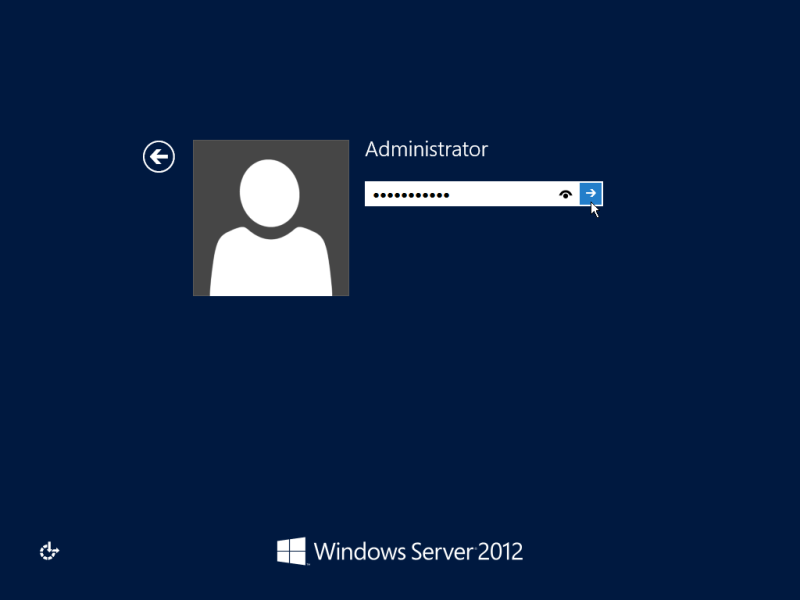
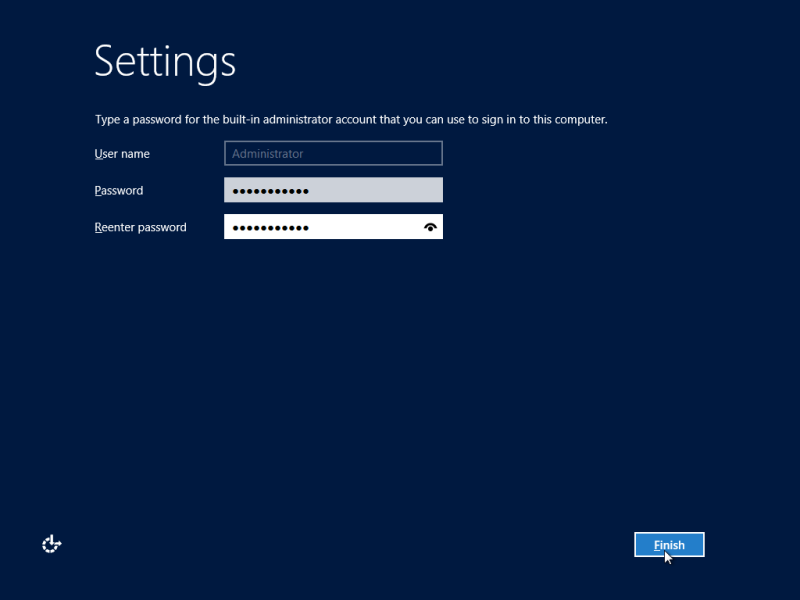
9. The installation will now apply the settings whereafter the Windows Server 2012 lock screen shows up. Press the Ctrl+Alt+Del key combination and enter your password.
Continue to the installation of the Device Drivers…

Following Zain: for god’s sake, just write MANUALLY down on a paper the PID code number!
Hello,
many thanks for this great site! i just finished to install the ws2012 datacenter, and i faced the next problem: i cannot modify the display resolution. i have 2 video cards but one of them has a yellow exclamation mark, so i thing that’s the source of my problem… what can i do, what i have to do to be capable vary this setting?
Respectfuly,
Lars
I think u just need to Install The Drivers 🙂
Some systems come with a product key already in the BIOS. I experienced this with my Lenovo W530 and it led to this problem: http://bit.ly/10b6L1u
After working for a time (several hours) trying to get the PID.txt stuff to work I finally found a comment at the bottom of this article: http://bit.ly/PrFi5s
Which led me to figure out that I had to install the Eval version of W12K from here: http://bit.ly/zfLwXi
Once that was done I had to run the following command with my product key where the X’s are:
DISM /online /Set-Edition:ServerStandard /ProductKey:XXXXX-XXXXX-XXXXX-XXXXX-XXXXX /AcceptEula
Which finally got me where I needed to be. It’s a major PITA but easy once you figure it out.
Thanks Zain for your useful comment! 🙂
Thanks Zain for this extended and useful explanation!
Do you have idea to make it more better even after installing desktop experience in Windows 2012 server. I means perform look loose then Win7.
Thanks
My computer (on Win server) running slow. Can you help me to make it better.
Check this link & compare the “minimum system requirements for windows server 2012” with your hardware.
http://en.wikipedia.org/wiki/Windows_Server_2012