Dual Boot
Before people switch to a completely new operating system they often want to test it for a few weeks first. This is possible without losing your current Windows Installation (like Windows XP/ Vista / 7) by creating a multi boot installation. Using multi boot you can select which Operating System to start after turning on the computer. As an example we will create a dual boot installation with Windows Vista and Windows Server 2008 R2. Assumed is that you already have Vista installed on a partition that uses the full hard disk.
Installation
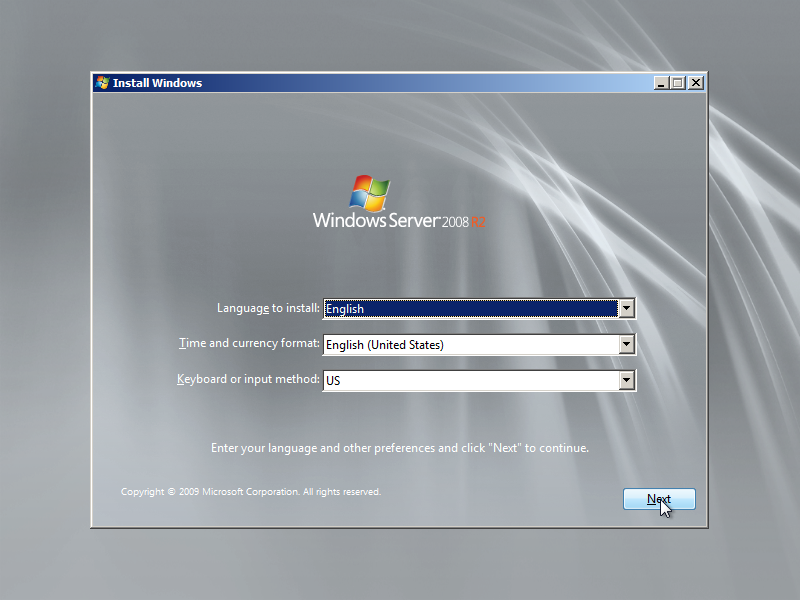
1. Boot up your Windows Server 2008 R2 DVD. After you see the screen below, choose the appropriate settings and click Next.
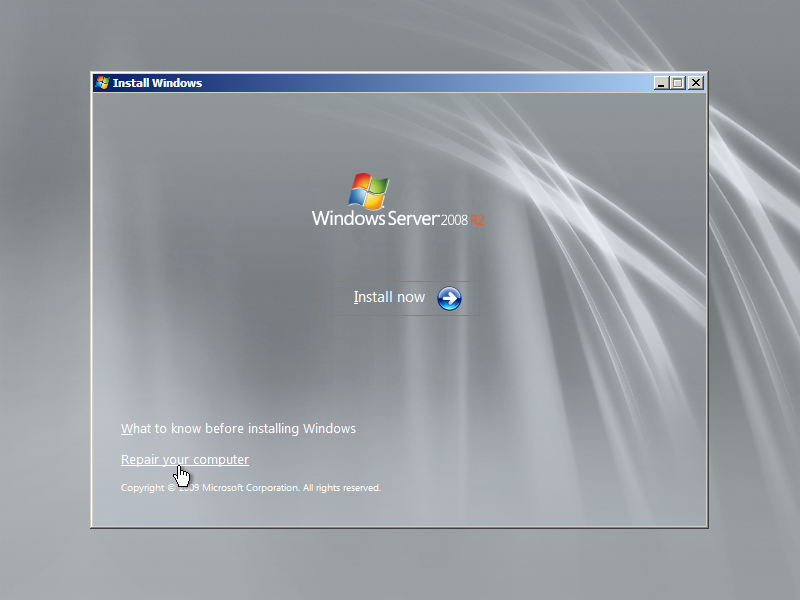
2. We will shrink the partition of the Windows that is already installed first to create some space for the new Windows Server 2008 R2 installation. To do this click the Repair your computer link.
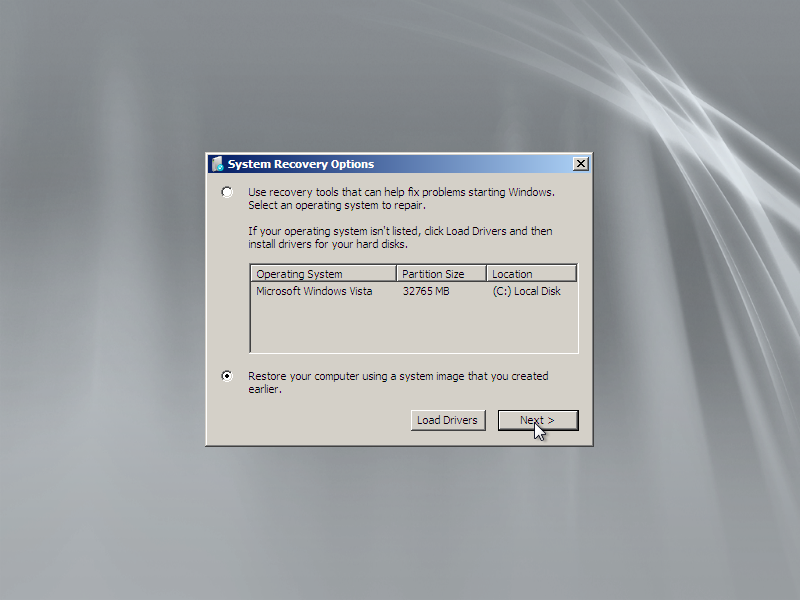
3. Select the “Restore your computer using a system image that you created earlier” option and click Next.
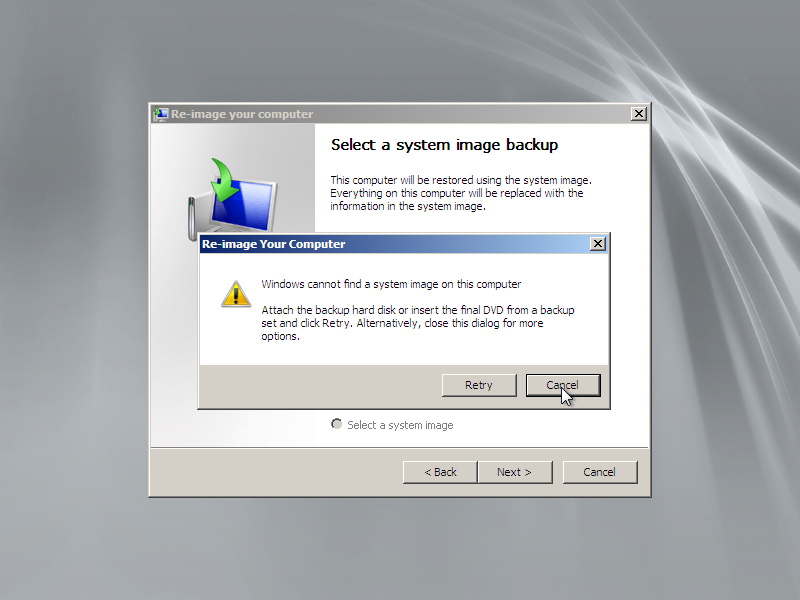
4. Windows will warn you that it couldn’t find an image backup on your computer. Just click the Cancel button and after that close the “Re-image your computer” window.
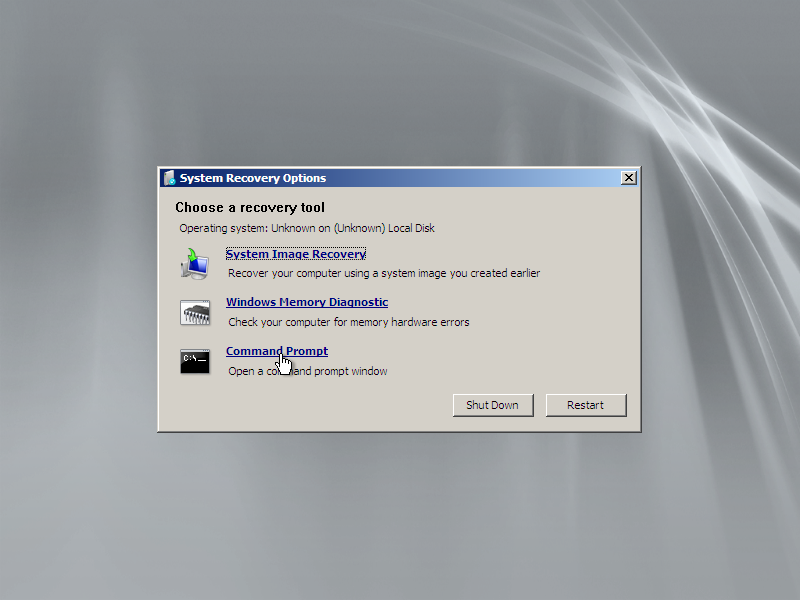
5. At the System Recovery Options screen click the Command Prompt link to open a command line window.
6. Shrink Vista partition:
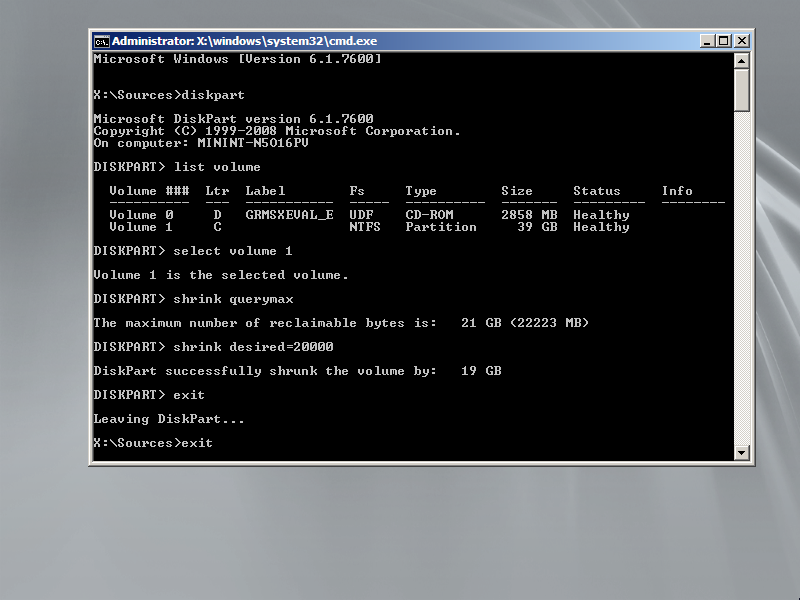
a. At the command prompt first enter the diskpart command to start the Disk Management application.
b. Now execute the list volume command to view the available cd- and harddrives.
c. Select the Vista partition by executing the select volume # command where # is the volume id from the first column.
d. Shrink the selected partition using the shrink desired=# command where # is the amount of space in MB’s you want the volume to shrink. Make sure you shrink the volume at least 14GB (14000) to have enough space to install Windows Server 2008 R2. You can view the maximum amount you can shrink by executing the shrink querymax command.
e. After successfully shrinking the Vista partition type exit twice to exit both the Diskpart utility and the Command Prompt window.
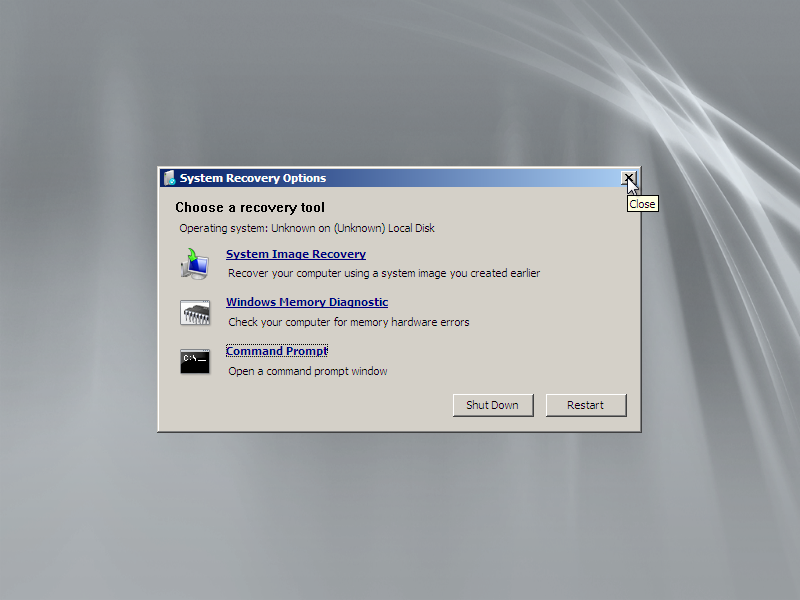
7. Close the System Recovery Options screen to return to the main installation screen.
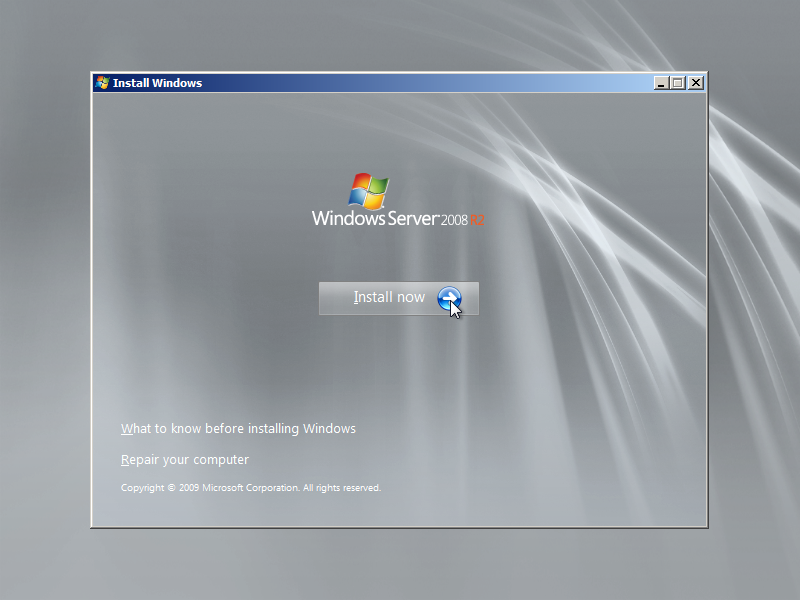
8. Back at the main installation screen click the Install now button to start the installation wizard of Windows Server 2008 R2.
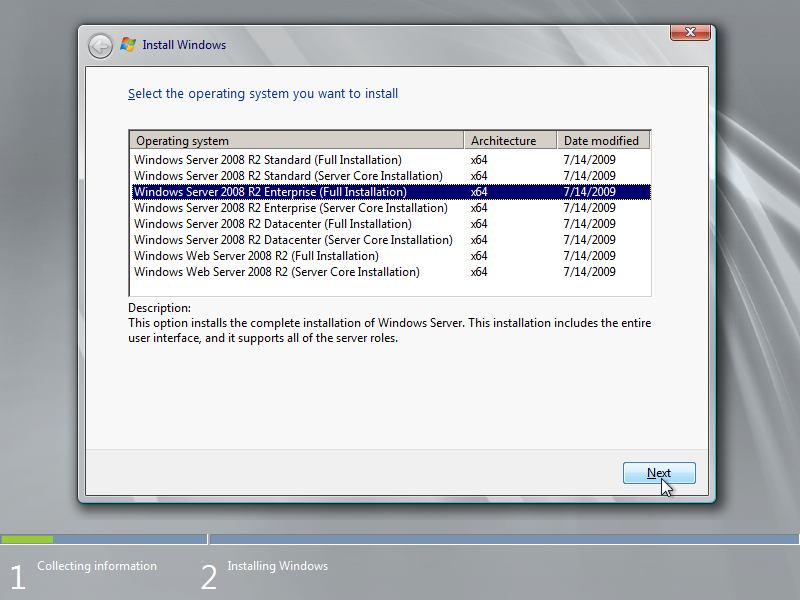
9. Select the version of Windows Server 2008 R2 that says Full Installation. Don’t select one of the Server Core Installation’s, because then you won’t have a GUI ?
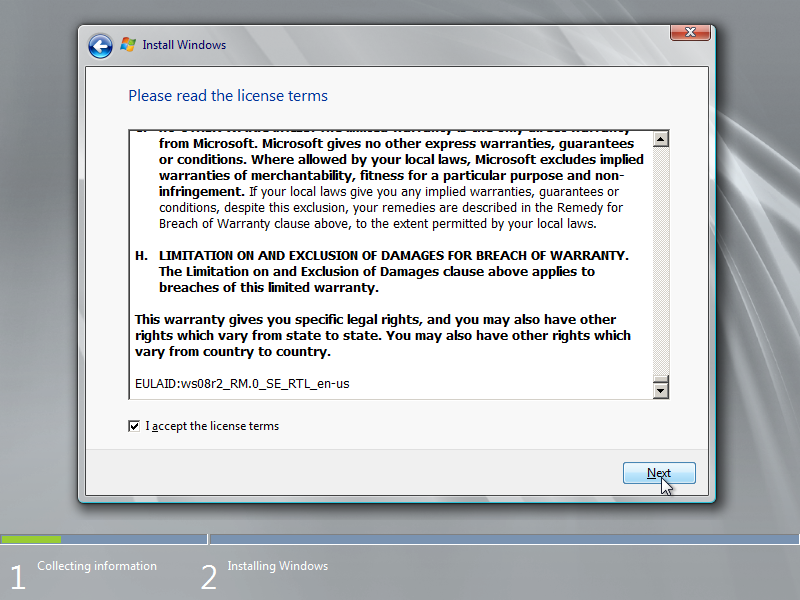
10. If you agree to the license terms, select I accept the license terms and click Next.
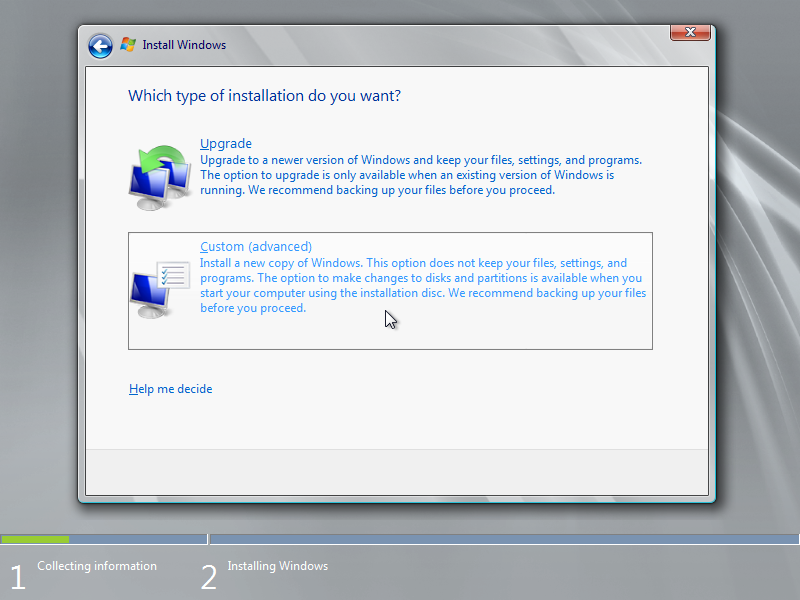
11. Choose the Custom (advanced) option to create a new installation and be able to select the partition you want to install Windows Server 2008 R2 to.
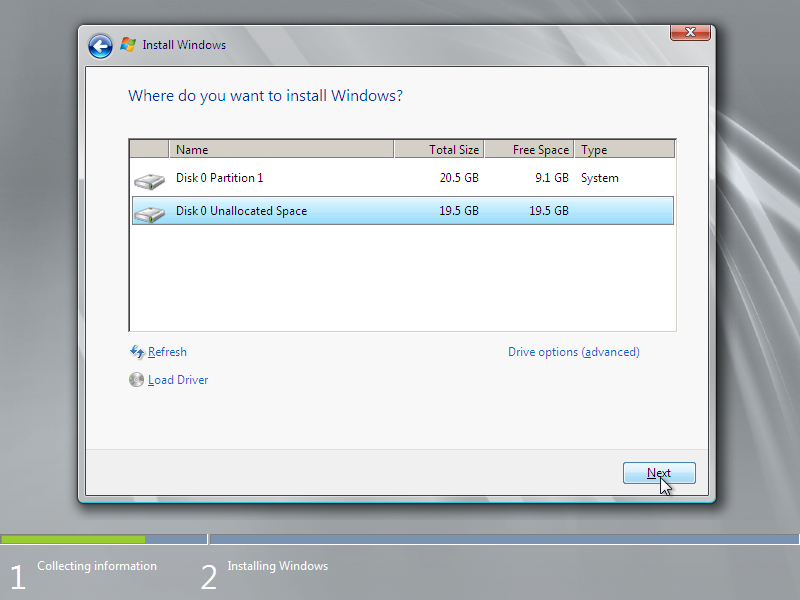
12. Select the Unallocated Space we just created using the diskpart utility by shrinking the Vista volume and click Next to start the installation.
13. Now Windows Server 2008 R2 setup will install the selected version to your harddrive.
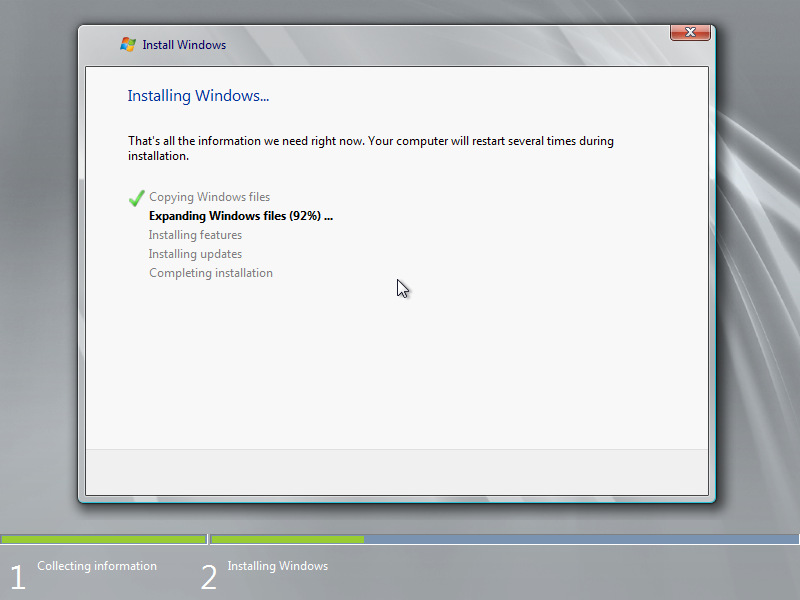
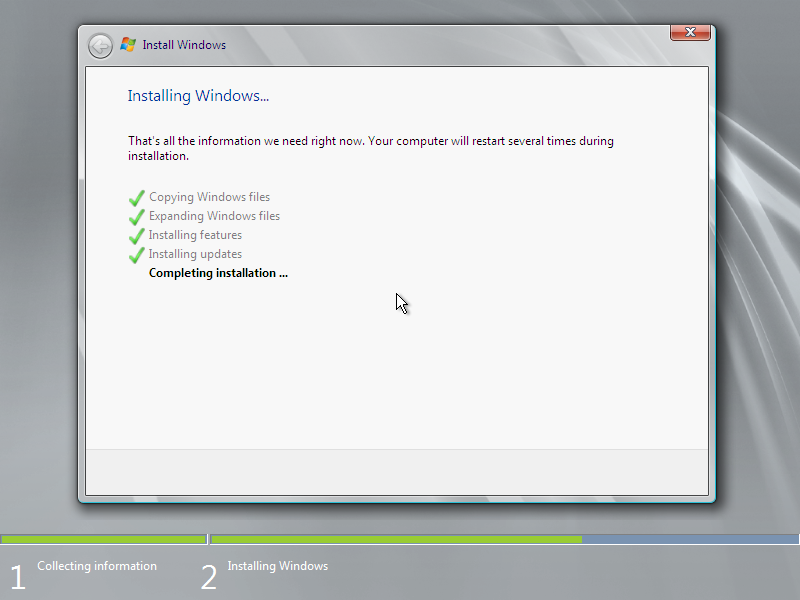
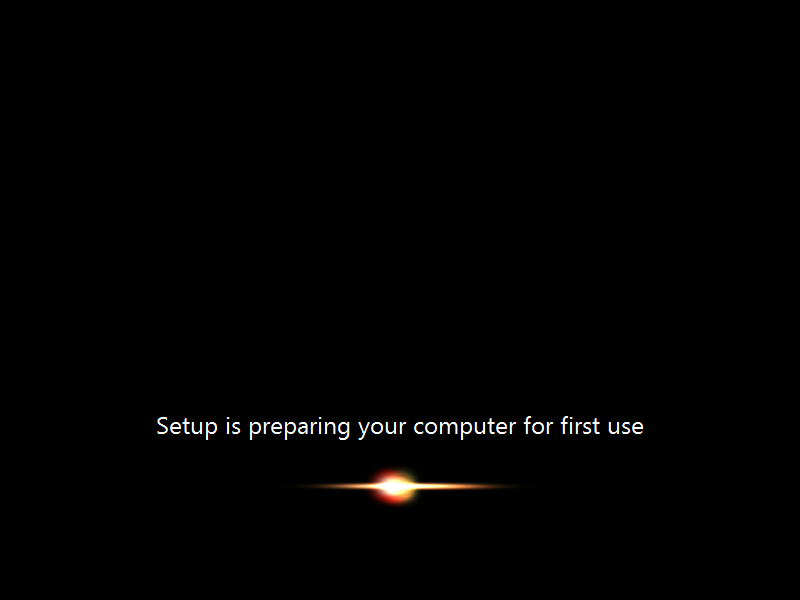
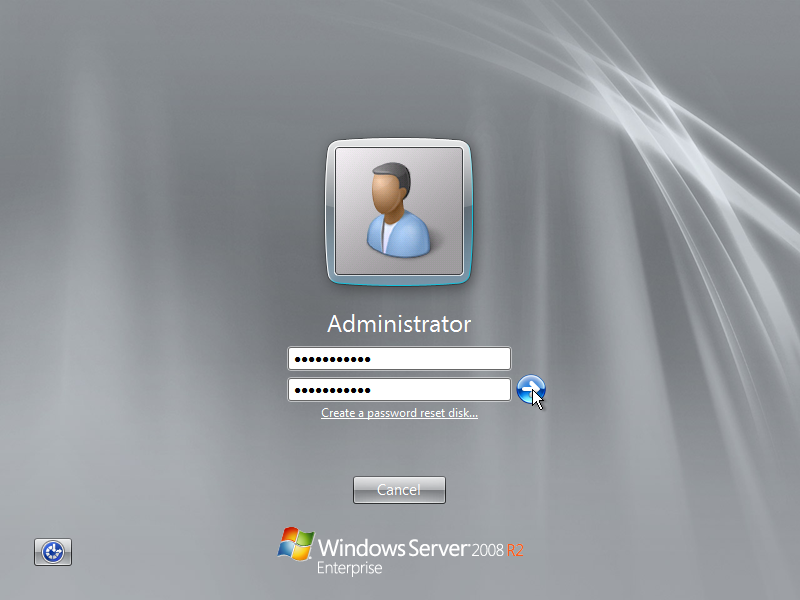
14. After the installation has finished the computer will restart and a message about changing your password will be shown. Click OK.
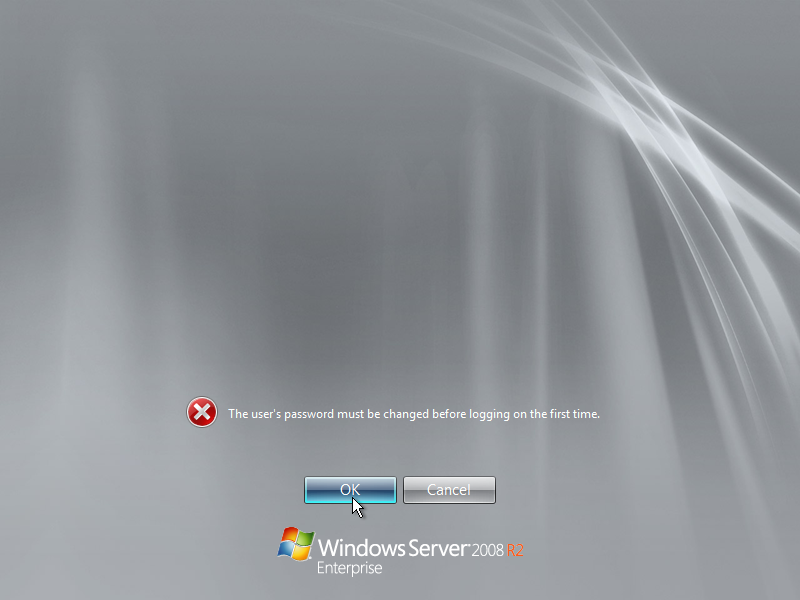
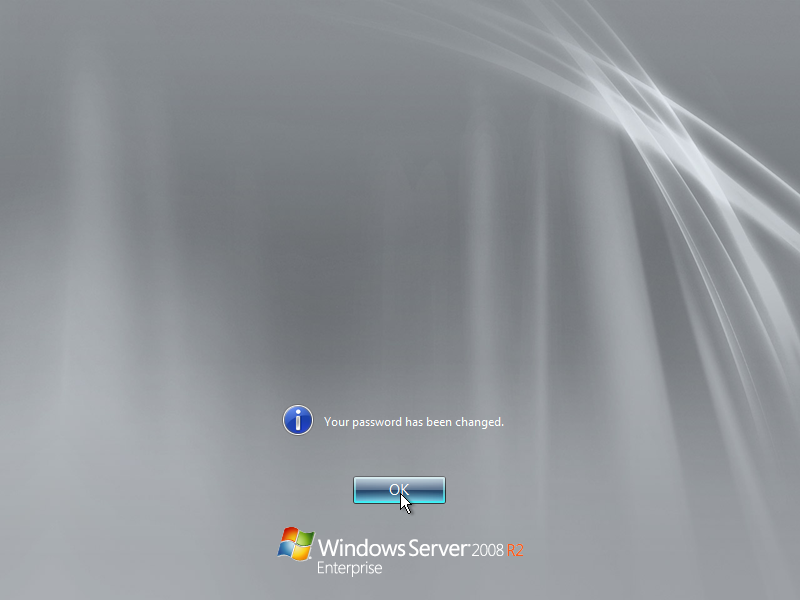
15. You MUST type in a strong password with at least one capital letter and one number, for example P4ssword (capital P/number four), otherwise you will get an error message saying that you doesn’t comply to the security enforcement of the domain. You can disable this strong password enforcement later. After successfully changing the password you will see the message that your password has successfully been changed. Click OK. Your desktop will now show up.
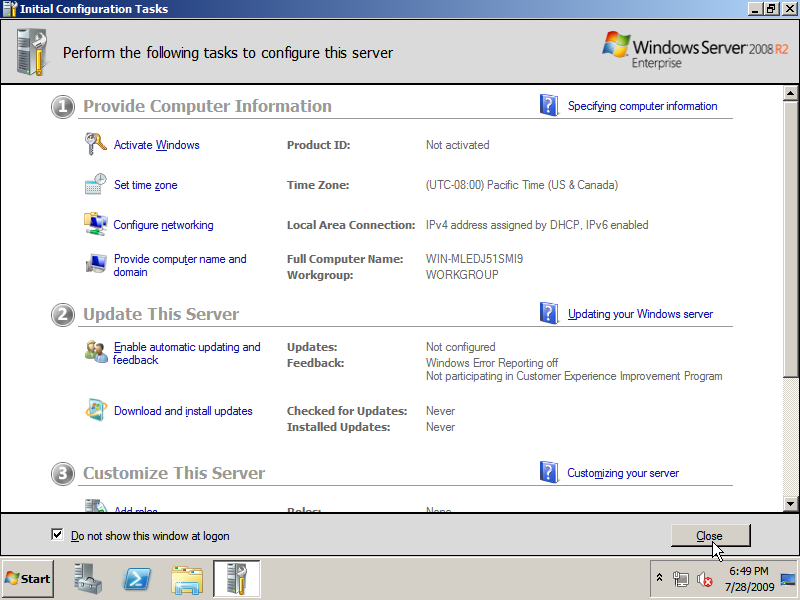
16. In the Initial Configuration Tasks window check the Do not show this window at logon to not show the Initial Configuration Tasks at startup. You can access it later by typing oobe in Start -> Run.
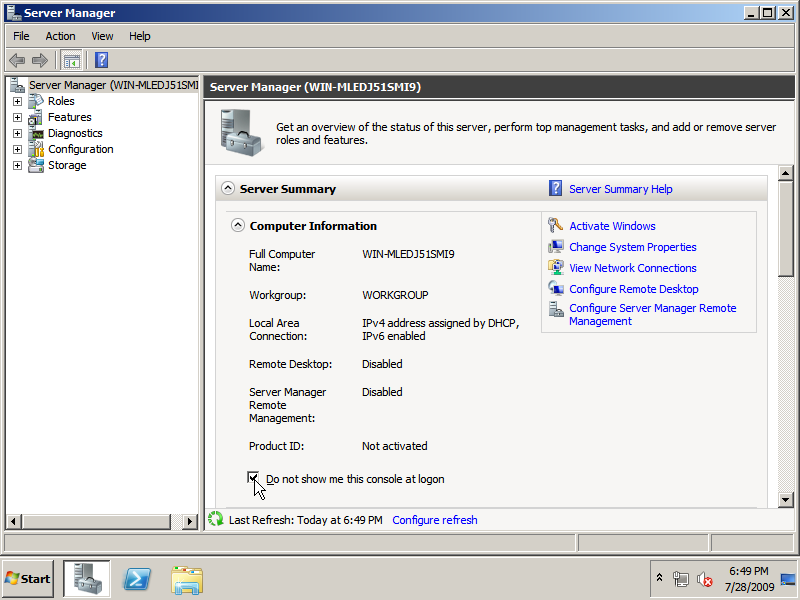
17. In the Server Manager window check the Do not show me this console at logon to not show the Server Manager at startup. You can access it later via the the Server Manager shortcut in your quick launch bar or Start menu.
Configuring Boot Menu
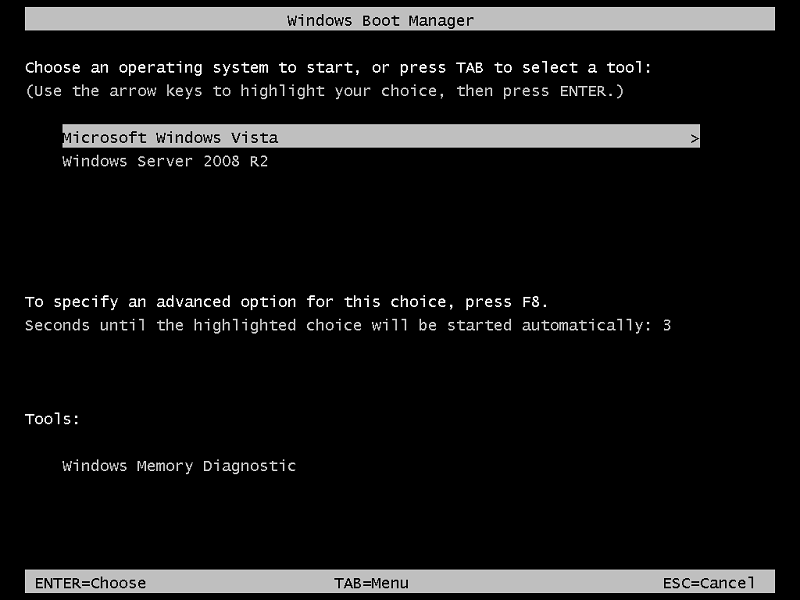
By default the Windows Server 2008 R2 Setup sets itself to the default startup. (See image) You probably don’t want that while it’s still your secondary operating system. To change the startup order we will use the command line tool bcdedit.
1. To edit the boot menu start the Command Prompt by clicking Run in the Start menu, entering cmd and clicking OK.
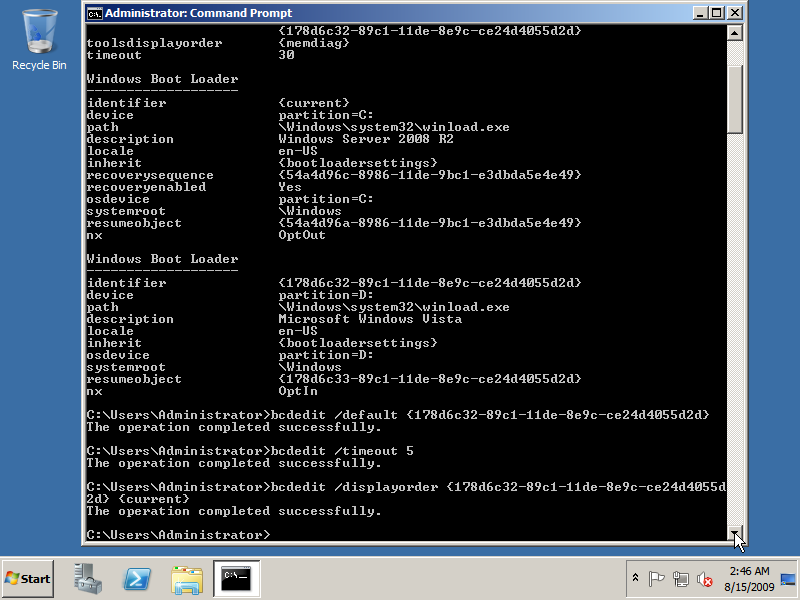
a. After opening the Command Prompt enter the bcdedit command without any parameters to view the boot configuration. Notice the identifier and description values of the different Windows Boot Loaders.
b. First we are going to configure Windows Vista as our default startup Operating System. To do this enter the command bcdedit /default {identifier} where {identifier} is the identifier of the Operating System you want to boot by default.
c. The timeout before automatically booting the default Operating System can be set using the bcdedit /timeout # where # is the number of seconds to wait before automatically booting the default OS.
d. Optionally you can also change the order in which the Operating Systems are displayed in the boot menu by using the bcdedit /displayorder {identifier 1} {identifier 2} {identifier N} command where you replace the identifiers by the ones corresponding with the different Boot Loaders.
2. Restart your system and see the results!
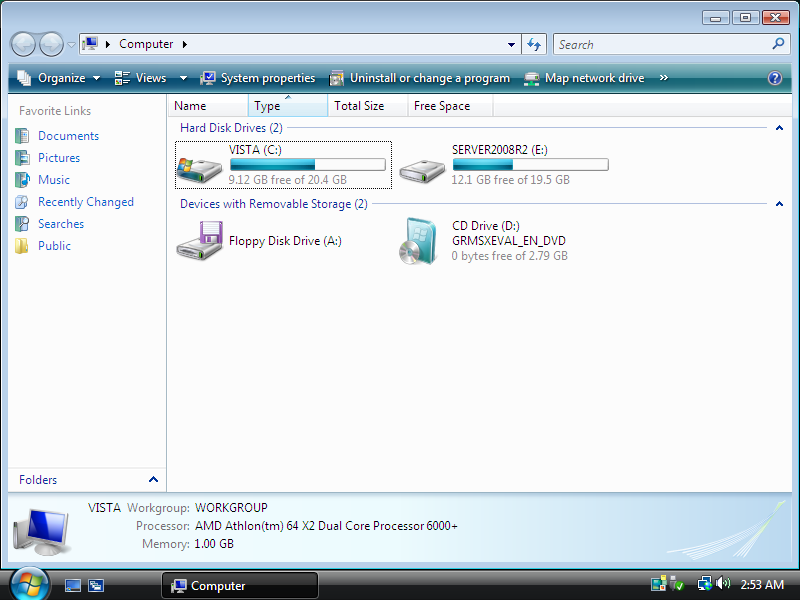
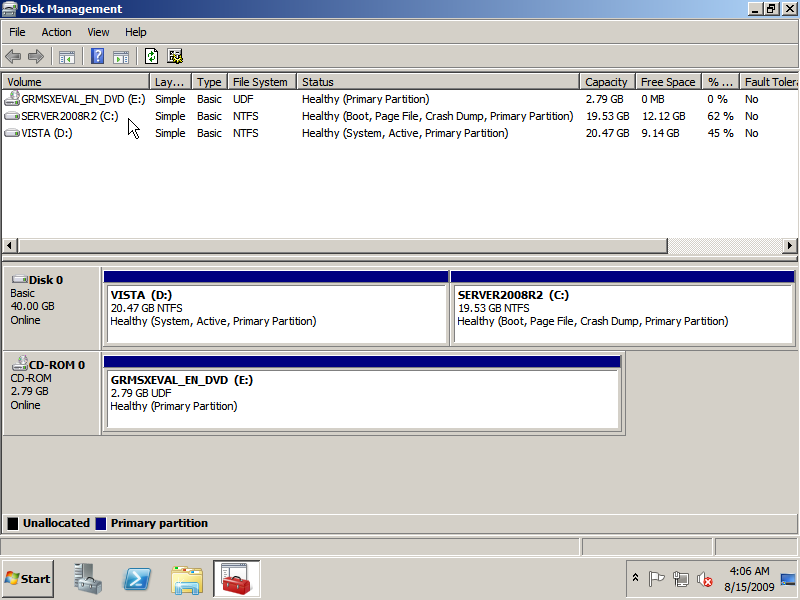
Continue to the installation of the Device Drivers…
